Good artificial turf should last 15 to 20 years. When it fails in year two or three, the turf itself is rarely the problem. I’ve been doing this for over 20 years, and I can tell you the actual cause almost every time before I even get out of the truck: something underneath the turf was done wrong, and the surface is just now showing it.
That’s not a marketing line. It’s the actual pattern. Below are the seven failure points I see most often, what causes each one, and what should have happened instead. Whether you’re a homeowner trying to figure out why your two-year-old lawn looks tired, or a contractor double-checking your own process, this list covers the real culprits.
1. Inadequate Base Preparation
This is the big one. If the sub-base beneath the turf is not properly excavated, graded, and compacted, the surface above it will eventually shift, sink, or ripple (source: ideal-turf.com/artificial-grass-problems), no matter how good the turf itself is.
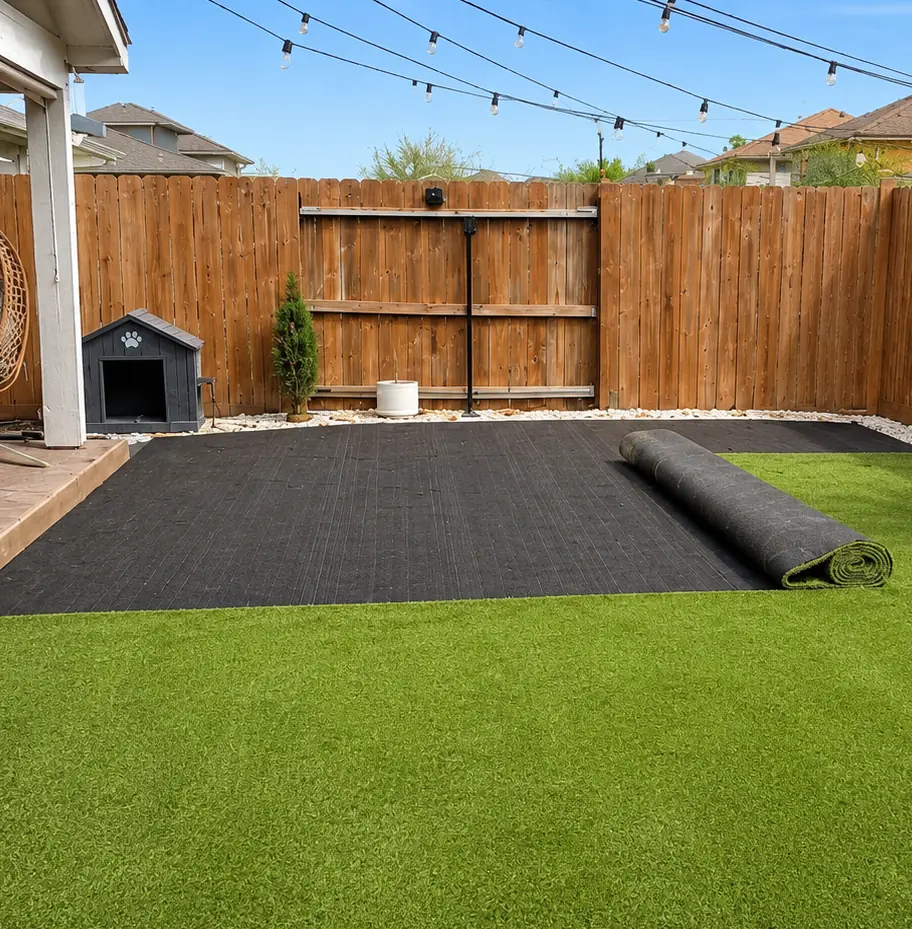
Turf is just the top layer. The base is the structure holding everything up, and it has to be built the same way every time: excavate the existing soil, lay a proper aggregate base, compact it in stages, and grade it correctly before a single roll of turf goes down.
Half the “bad turf install” complaints I hear are actually bad base complaints. The turf is fine. What’s underneath it was rushed.
2. Skipping or Shortcutting Drainage Planning
Without proper drainage, water becomes trapped beneath the turf, leading to odors, soft spots, and in some cases mold (source: ecoworkz.net). This shows up fastest in pet areas, where trapped moisture and waste combine into a smell that no amount of surface cleaning will fix.
My opinion on this one, and I’ll say it plainly: pet smell isn’t a turf problem, it’s a drainage problem. If your lawn smells bad no matter how often you rinse it, the issue isn’t your cleaning routine. It’s what’s happening below the surface where you can’t see it.
Correct installs grade the base with a slight slope away from structures and use a permeable aggregate that lets water move through rather than pool.
3. Installing Over Existing Grass
This one is more of a shortcut than a mistake, and it’s a shortcut that always catches up with the homeowner eventually. Laying turf directly over existing grass or sod, instead of removing it and building a real base underneath, is not an installation. It’s a temporary cover.
The grass underneath continues decomposing, the ground continues settling unevenly, and within a year or two the surface above it starts showing every flaw in what’s rotting away beneath it. (I’ve pulled up turf that was installed this way. It is not a good day for anybody involved.)
4. Wrong Turf Type for the Application
Ordering turf meant for putting greens and using it as pet turf, or installing landscape-grade turf in a high-traffic sports area, leads to performance problems that have nothing to do with installation quality (source: megagrass.com).
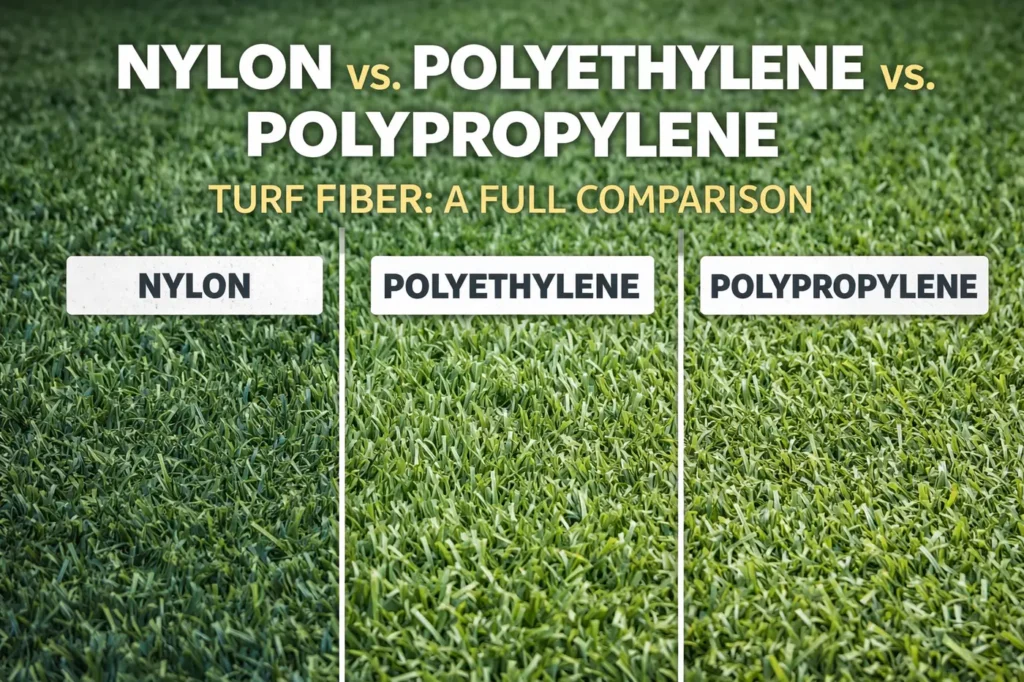
Different turf products are built for different jobs. Pile height, fiber type, and backing density all need to match the actual use case. A dog-heavy backyard needs different specs than a kids’ play area, which needs different specs than a rooftop lounge. Picking based on price alone, without matching the product to the application, is a common and avoidable mistake.
5. Improper Seaming
Visible seam lines running across a lawn are one of the clearest signs of inexperienced installation work (source: southwestgreens.com). This usually comes from mismatched grain direction between pieces, rushed adhesive application, or seams that weren’t properly weighted while curing.
A correct seam is nearly invisible. The grain runs the same direction across every piece, the adhesive is applied evenly and given proper time to bond, and the seam is checked again once cured. Skipping any part of that process is how you end up with a lawn that has a visible line running through the middle of it for the next decade.
6. Insufficient or Incorrect Infill
Infill isn’t an afterthought. It supports the fibers, helps with drainage, and plays a real role in how the lawn performs over time. Skipping it, applying too little, or using the wrong type for the application leads to fibers that won’t stay upright and a surface that compacts faster than it should (source: ideal-turf.com).
This connects directly back to point 4. The right infill depends on the turf type and how the space gets used. A pet-heavy yard, a putting green, and a playground all call for different infill choices, and getting it wrong shows up as flattened, lifeless-looking turf well before it should look that way.
7. Edges and Perimeter Not Properly Secured
When the perimeter of a turf installation isn’t properly fastened, the edges lift over time (source: megagrass.com), which is both an eyesore and a tripping hazard. This usually traces back to insufficient fastening at the perimeter or edges that were never tucked and secured against a hard border in the first place.
It’s a small detail in the scope of an entire installation, and it’s exactly the kind of small detail that gets skipped when a crew is moving fast to finish a job. Secured edges should hold for the life of the turf. If they’re lifting in year one, that’s an installation issue, not normal wear.
The Pattern Behind All Seven
Look back at this list and notice something: six of the seven are decided before the turf is even unrolled. Base prep, drainage, turf selection, infill, and edge planning all happen in the early stages of a job, long before the finished lawn is visible to anyone.
This is exactly why three quotes that look identical on paper can produce wildly different results two years later. The turf itself is rarely what separates a good installation from a bad one. The work underneath it is (source: usturfsandiego.com).
If you’re a homeowner comparing quotes, ask specifically about base depth, compaction method, and drainage plan before you ask about the turf brand. If you’re a contractor, this list is worth running through on every job, not just the ones where something already went wrong.
For what it’s worth: most of these problems are also why I tell people not to skip a routine cleaning habit once the turf is in. A correctly installed lawn with no maintenance will still outlast a poorly installed lawn with perfect maintenance. But a correctly installed lawn that’s also well cared for is the one that actually makes it to year 20.
Frequently Asked Questions
What is the most common reason artificial turf fails? Poor base preparation is by far the most common cause. If the base underneath the turf is not properly excavated, graded, and compacted, the surface above it will eventually shift, sink, or develop low spots, no matter how good the turf itself is.
How long should artificial turf last? Quality artificial turf, properly installed, typically lasts 15 to 20 years. Turf that fails significantly earlier than that almost always points to an installation issue rather than a product defect.
Why does artificial turf get smelly? Persistent odor usually comes down to one of two things: a drainage problem underneath the turf, or infill that has never been properly cleaned. If water and waste cannot move through the base and out of the system, bacteria builds up below the surface where no garden hose can reach it. If the infill has never had a deep clean, the same result happens from the top down. Either way, surface rinsing alone will not fix it. A professional turf cleaning is the right next step, and if the smell comes back quickly after that, the drainage underneath is worth investigating.
Can artificial turf be installed over existing grass? No. Installing turf directly over existing grass without removing it and building a proper base is one of the most common shortcuts that leads to early failure. It is a temporary cover, not a real installation.
Why do artificial turf seams show after installation? Visible seams usually result from mismatched grain direction, poor seam tape application, or rushed seaming work. Proper seaming requires the grain to run the same direction across all pieces and a fully bonded, properly weighted seam while the adhesive cures.
None of these seven problems are mysterious once you know what to look for, and every single one of them is preventable with the right process. If you’re getting quotes for a new install and want a second opinion on what’s being proposed, or if your current turf is already showing one of these signs, reach out to the Houston Turf team at (832) 479-3769 and we’ll tell you straight what’s actually going on. No charge for the honesty. That part’s free.